A Closer Look at the Inside
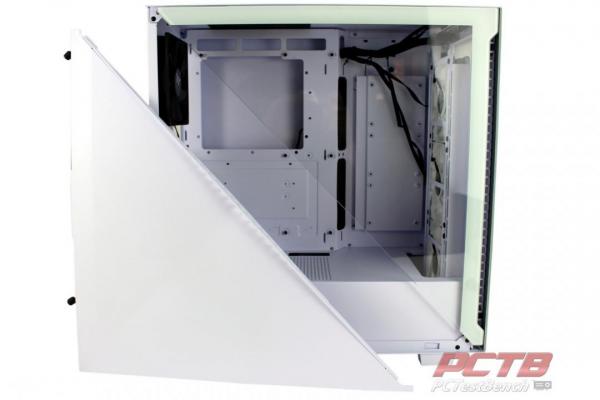
Opening Thermaltake’s Divider 300 is somewhat similar to most other cases in that two thumbscrews loosened to let the lower half of the side slide back a bit to pop off.
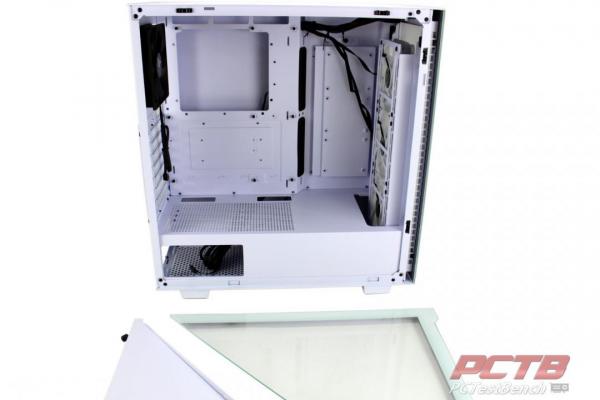
After the solid panel is out of the way, you grab the glass panel and pull it off.
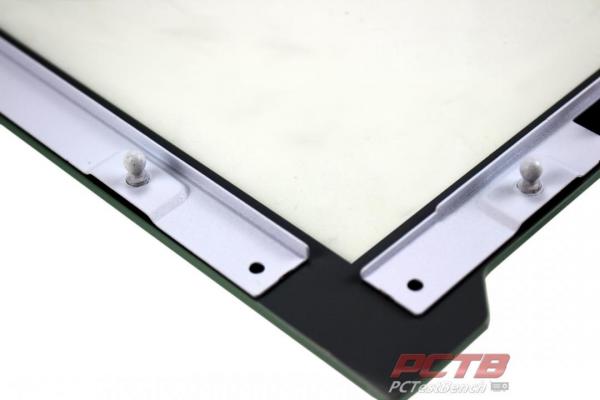
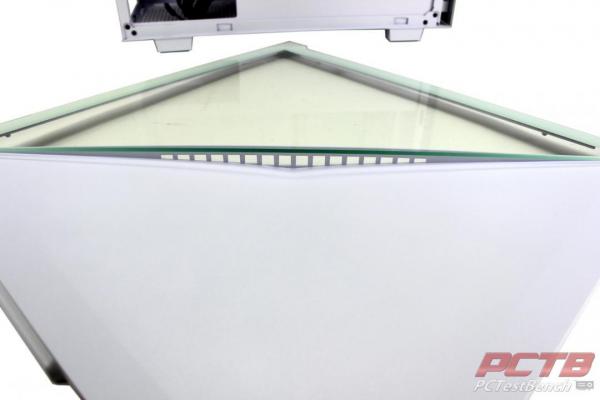
Four ball and socket mounts hold the glass panel in place securely but allow easy removal with a tug.
Remember when we said the side panel what slightly concave? Well, here you go. The panel bends inward to provide a vent between the panels.
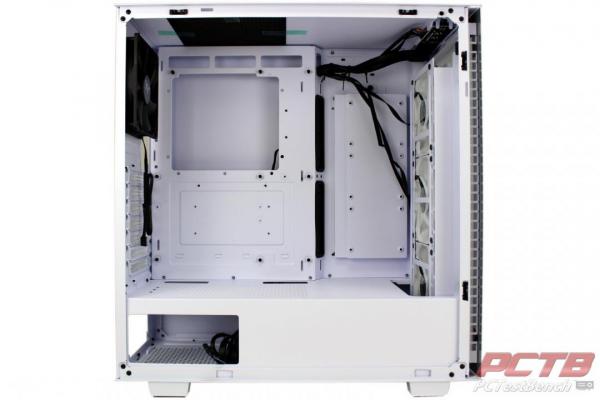
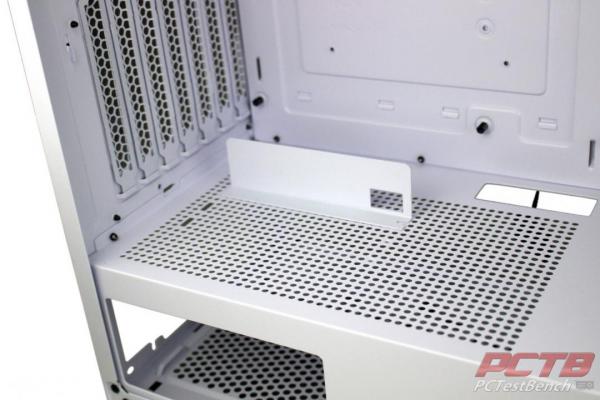
Inside the Divider 300 is a mostly standard mid-tower layout with a slight step in the motherboard panel that has become popular in dual-chamber cases. A window in the PSU shroud shows off your PSU without revealing the wiring.
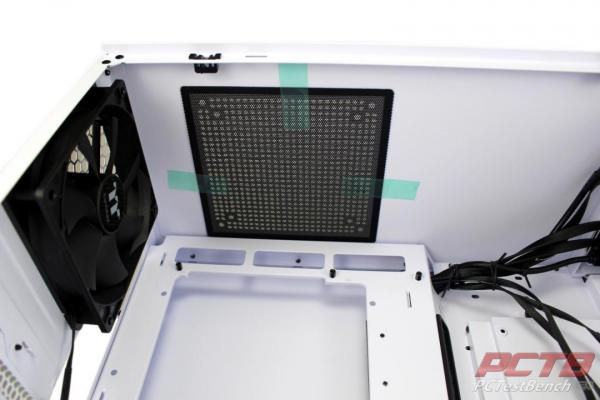
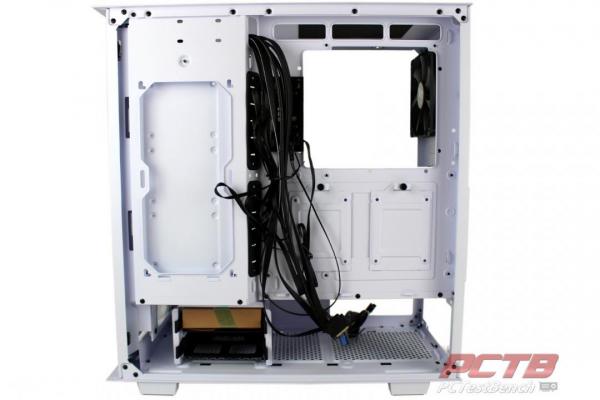
Inside, we find a magnetic fan filter taped in place for transport. A single non-LED 120mm fan occupies the rear vent.
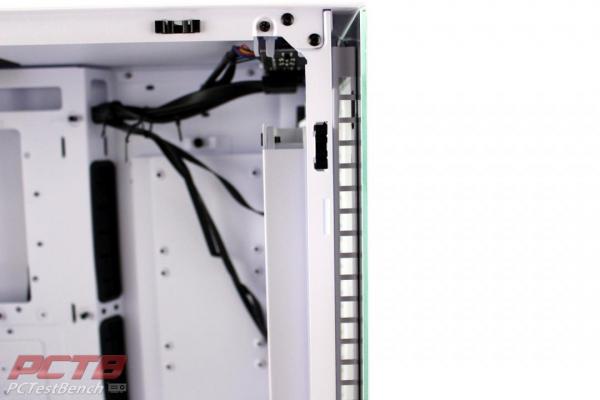
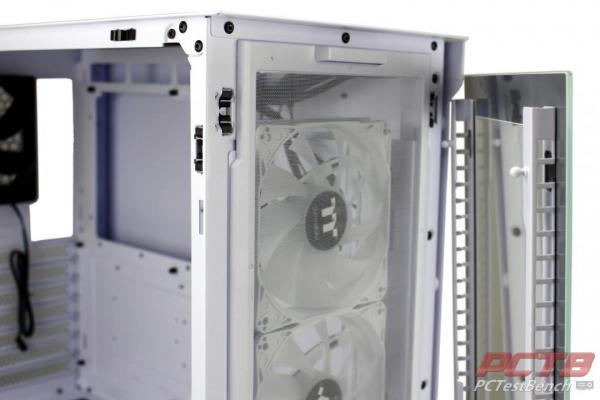
Upon closer inspection, the front panel is held out from the chassis about 1cm which allows a vent along the entire height on both sides.
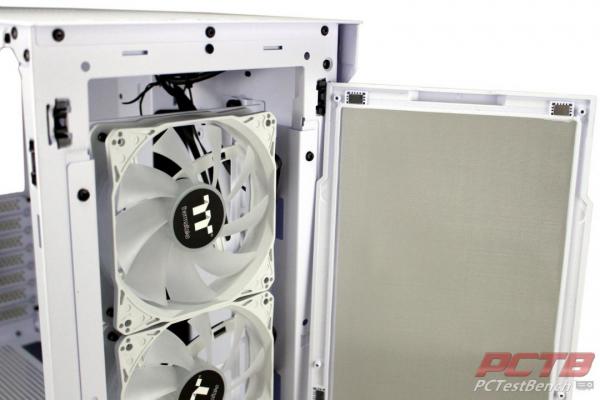
Just like the side, the front panel of the Divider 300 comes free with a tug thanks to the same round studs.
Under the front cover, another magnetic washable filter protects the massive front intake area.
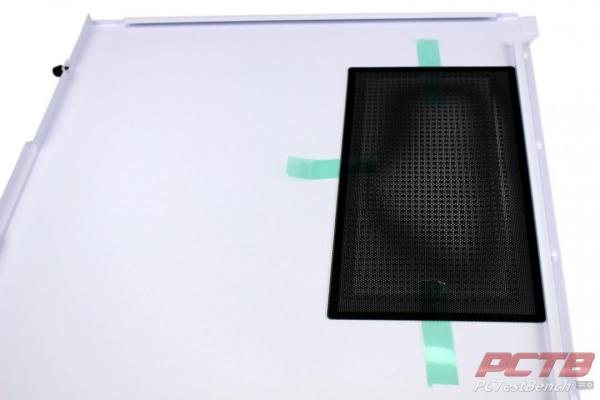
The right-hand panel is held on with two thumbscrews and also comes with a magnetic fan filter taped in place for transport.
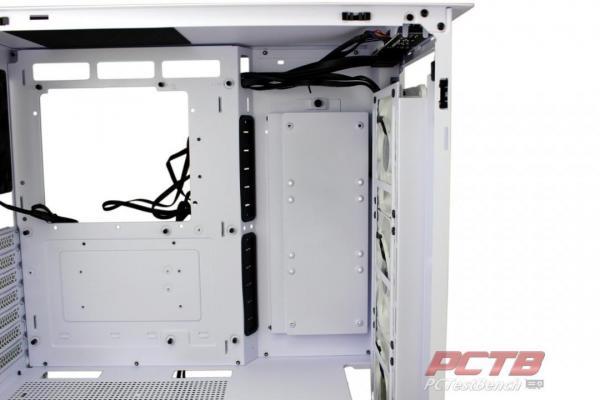
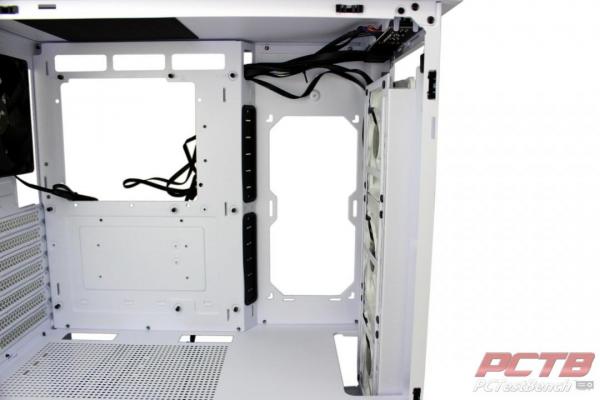
The rear area of the case looks somewhat typical except for the slight offset that brings a dual 120mm mounting area close to the vented portion of the side panel. Behind the motherboard are two 2.5” drive trays.
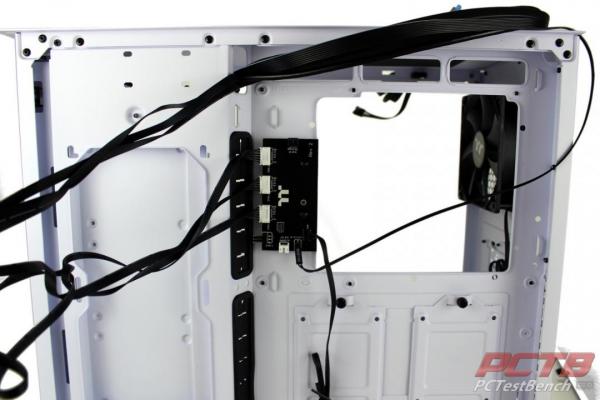
Partially hidden behind the bundle of front panel cables the fan control board that handles the three front-mounted ARGB fans. The front panel reset button is connected to the controller to switch RGB profiles, or you can connect an included cable to your motherboard to control the lighting from your desktop through your favorite RGB software.
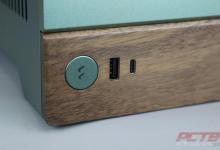
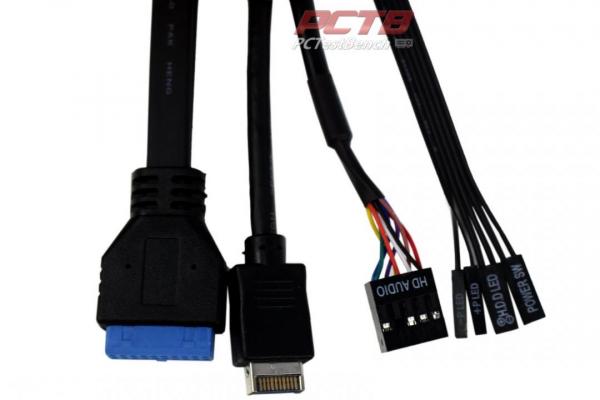
Front panel headers include a UB 3.0, USB Type-C, HD Audio, and front panel indicators and power button.
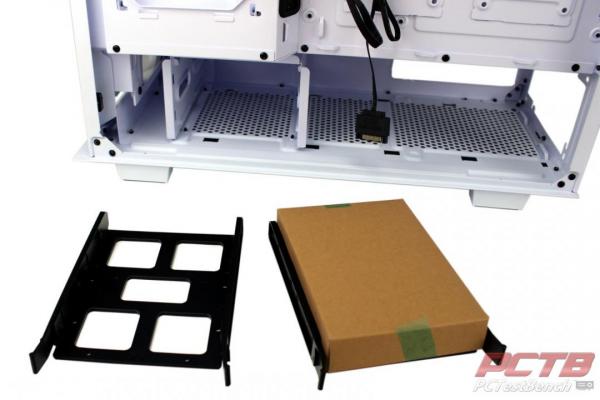
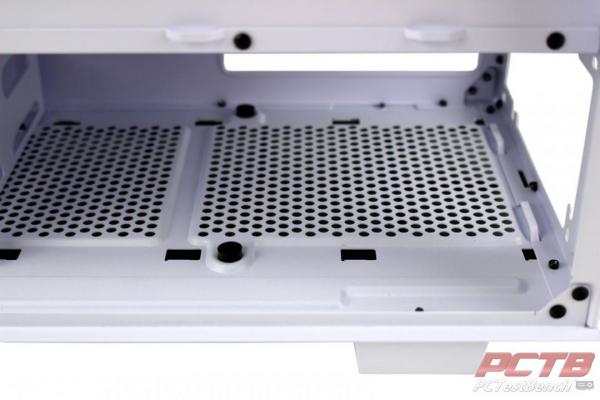
In the bottom is a removable 3.5” drive cage with two sleds. One is occupied with a box.
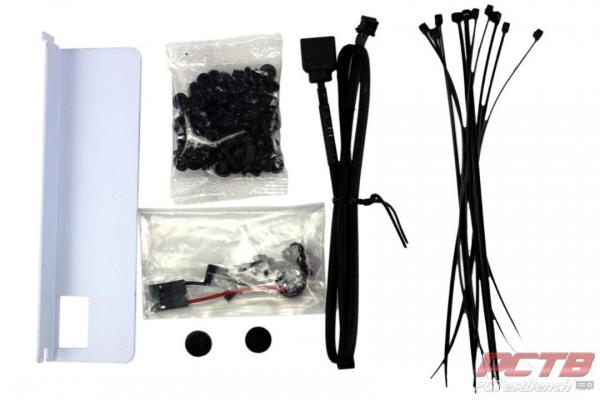
Inside the box are a vertical PCIe cable holder, bag of screws, PSU vibration absorbers, motherboard RGB control cable, and some zip ties. Inside a baggie is something we haven’t seen in a while, a diagnostic speaker.
The PSU vibration absorbers have doubled-sided tape and stick into two specific places in the basement for the PSU to sit on.
In the offset area front of the motherboard is a drive sled that holds up to three 2.5” drives.
With the drive bracket removed, you can install two additional 120mm fans or a 240mm radiator for a custom loop or AiO cooler.
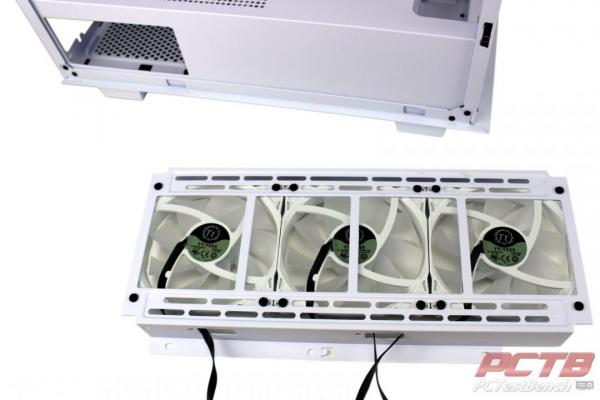
The front fan bracket is held in place with a couple of screws and pops out easily to allow up to three fans (included) to be installed, or up to a 360mm slim radiator.
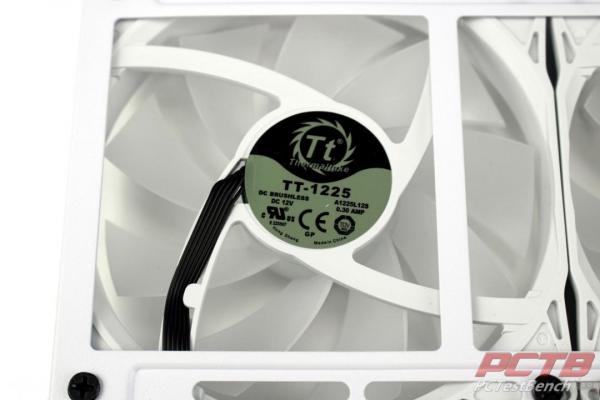
Three Thermaltake TT-1225 ARGB fans are included.
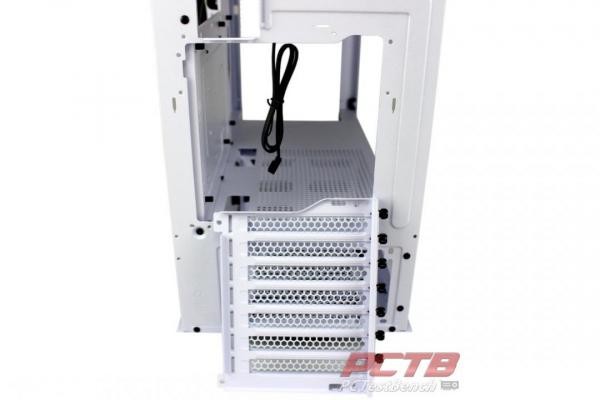
One of the tricks the Divider 300 has under the hood is the rotatable rear I/O panel. A few screws hold the bracket in place.
With the bracket rotated, you can use the included riser mounting bracket to attach a flexible PCIe riser (not included) for displaying your GPU in a vertical mounting layout. Since all 7 slots rotate and the bracket can mount in three different locations, pretty much any GPU can be used including the latest monster 3+ slot cards, pending you can get your hands on one of course.


Check Out Our Amazon Store with Modders Inc
Please Support PCTestBench as Every Purchase Helps