System Installation & Testing
Test Platform:
CPU – AMD Ryzen 9 3900X
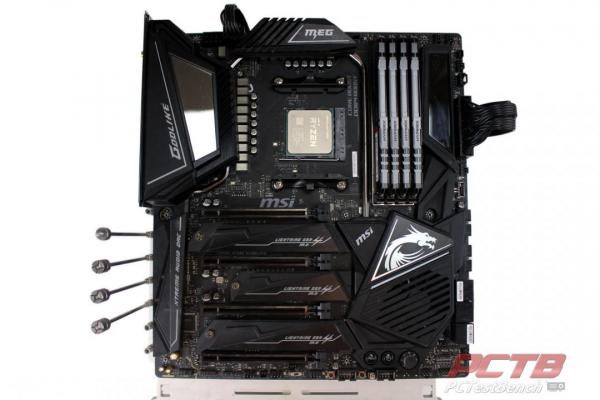
Mobo – MSI X570 Godlike Gaming
RAM – 32GB (4x8GB) HyperX Fury RGB 3200MHz
GPU – Nvidia RTX 3070 Founders Edition
SSD – Corsair MP600 2TB
PSU – Thermaltake ToughPower 750W
Chassis – OBT (Open Bench Table)
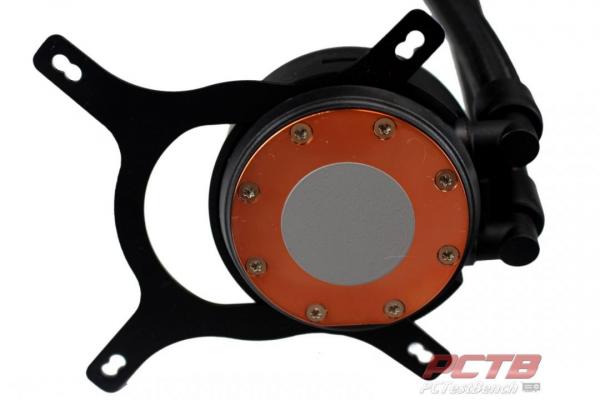
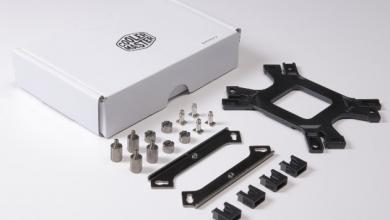
Since we’ll be testing on an AMD platform, we’ll need to pop the Intel bracket off which is as simple as sliding it out the side of the mounting grooves in the block.
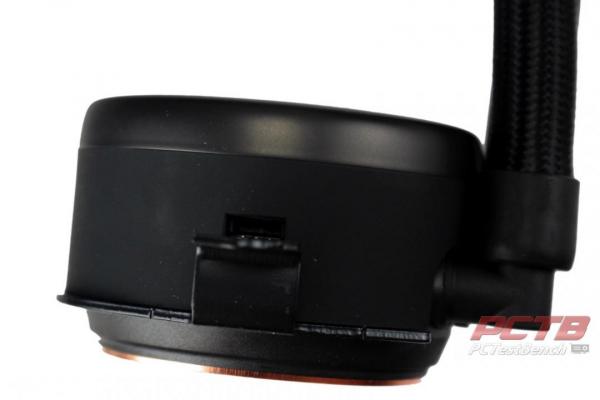
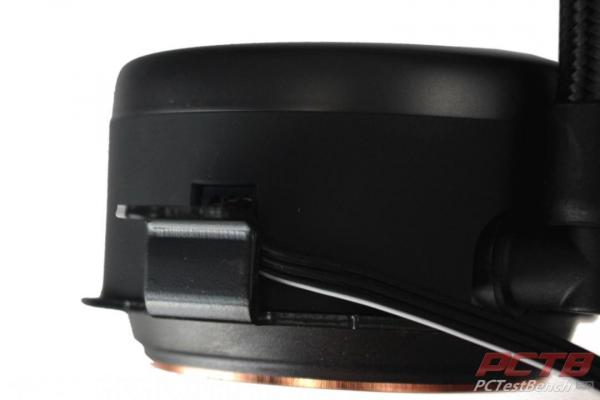
The AMD bracket slides right back in the same groves. We initially had a little concern with it blocking the RGB connection point.
While it is certainly easier to plug the cable in before installing the AMD bracket, the cable and plug easily fit behind the AMD bracket and don’t interfere.
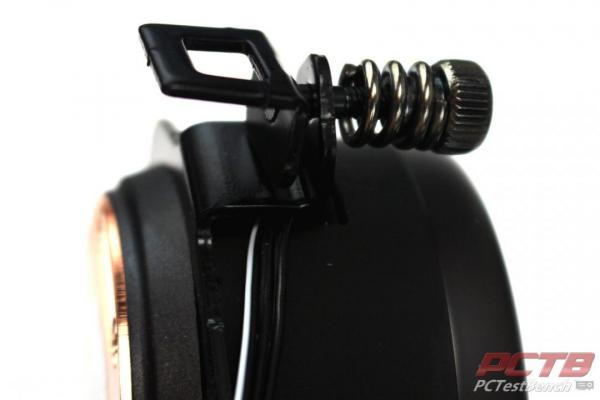
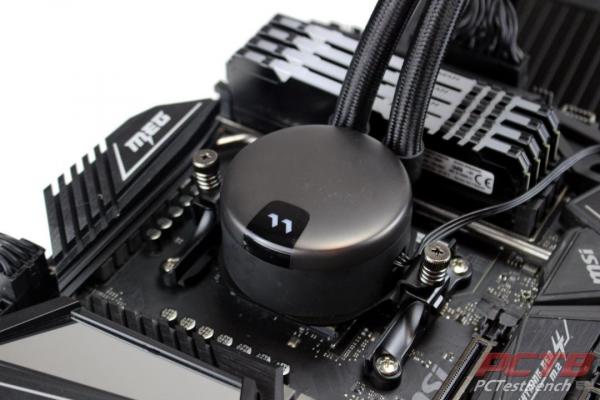
AMD mounting for all sockets is done with the factory AMD mounting brackets and t.he Lumen RGB loops. The same spring screws used for the Intel sockets provide the correct mounting tension.
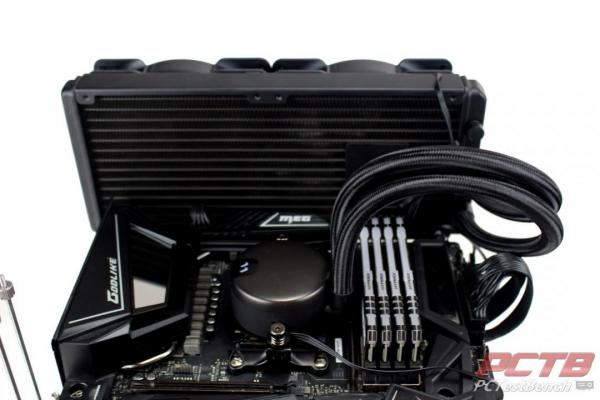
Mounting is super easy and only takes a few moments. There were zero issues with clearance around the memory which is a somewhat common problem with other coolers.
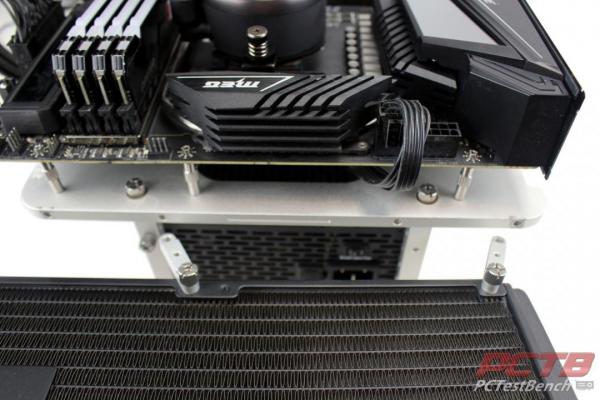
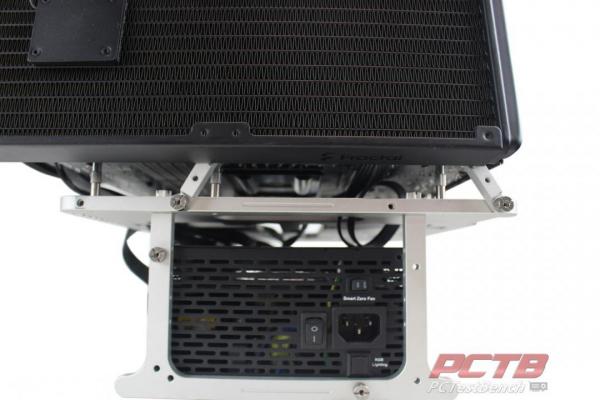
Since we are using a test bench rather than a traditional case, our install process may be a bit more complicated. In our case, the radiator mounts with two adjustable brackets that are included with the test bench. They are attached to the rad with their own #6-32 screws.
They then screw to the edge of the test bench.
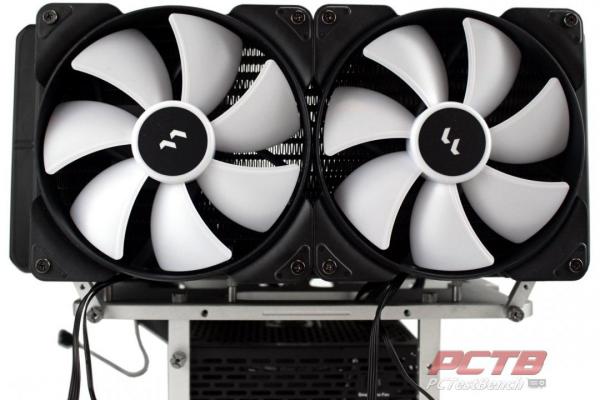
We then use the included long screws to mount the fans to the Lumen RGB radiator.
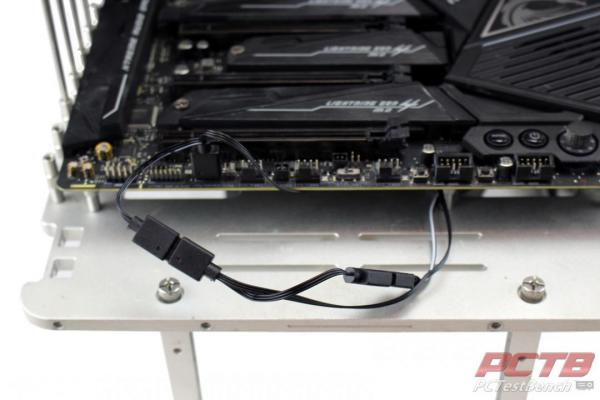
The wiring is super simple. Our RGB cable is one fan connected to the motherboard’s ARGB header, with the second fan connected to its daisy chain, and the block RGB cable connected to the second daisy chain. The fan and pump power are done the same but connected to the CPU_FAN header on the board. Both fans and the pump come to about 0.82A total load so they can all be connected to almost any CPU fan header which is often rated for 1A or more. Some fan headers are only rated for around 0.5A maximum so please check with your motherboard manufacturer first or distribute the connections to multiple fan headers.
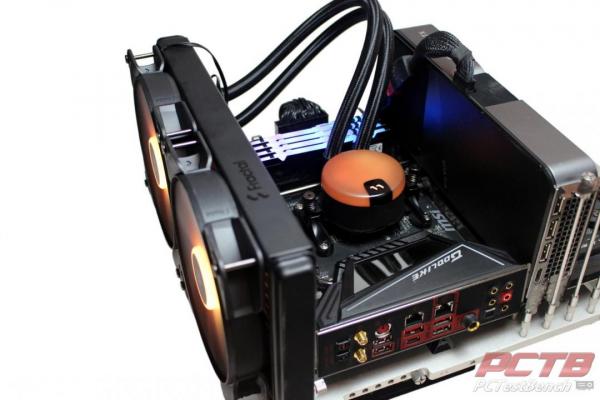
And that’s it. While our install is a test bench, installation in a traditional case would be very similar and likely result in a similar layout as pictured here.
Powered on, the Lumen instantly springs to like in perfect sync with the motherboard it is connected to. Despite the rather dark-colored cap on the water block, it has a rich lighting effect thanks to the bright LED’s inside.

Check Out Our Amazon Store with Modders Inc
Please Support PCTestBench as Every Purchase Helps