ASUS ROG Maximus XII Hero Wi-Fi Z490 Motherboard
Loaded with renowned ROG features, Maximus XII Hero is ready to perform
System Configuration & BIOS
- CPU: Intel Core i9-10900k
- Motherboard: ASUS ROG Maximus XII Hero Wi-Fi
- RAM: 32GB HyperX Fury RGB 3200MHz C16
- GPU: Nvidia RTX 2080 Founders Edition
- SSD: Kingston KC2000 1TB
- OS: Windows 10 Professional X64 1909
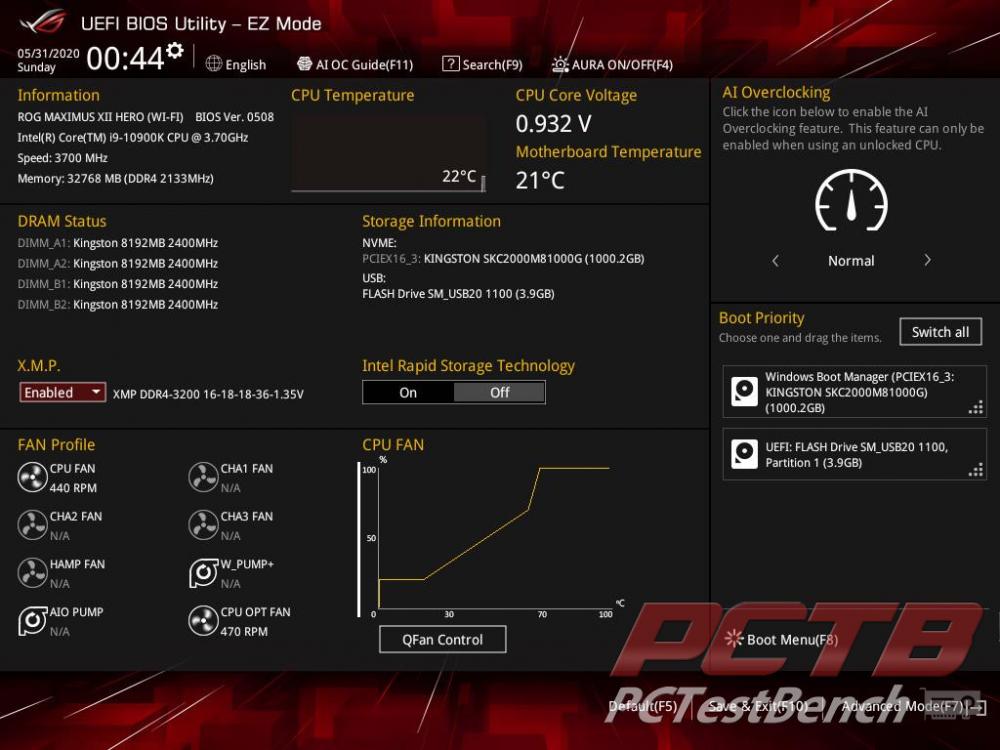
ASUS’s EZ Mode gives you everything you need on one page to get going quickly. Important settings such as boot device and XMP memory overclocking are all available here as well as a quick overview of installed hardware.
Hitting F7 brings you to the Advanced Mode where things really get fun. The Main page just gives a quick rundown of the system and allows you to change the language and date/time settings.
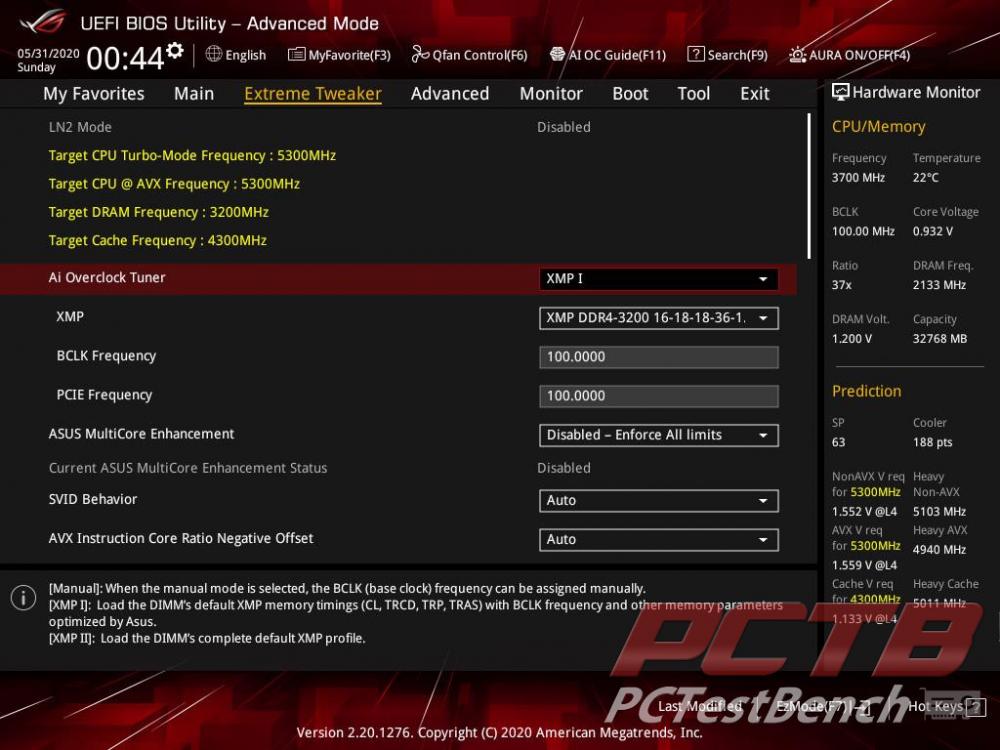
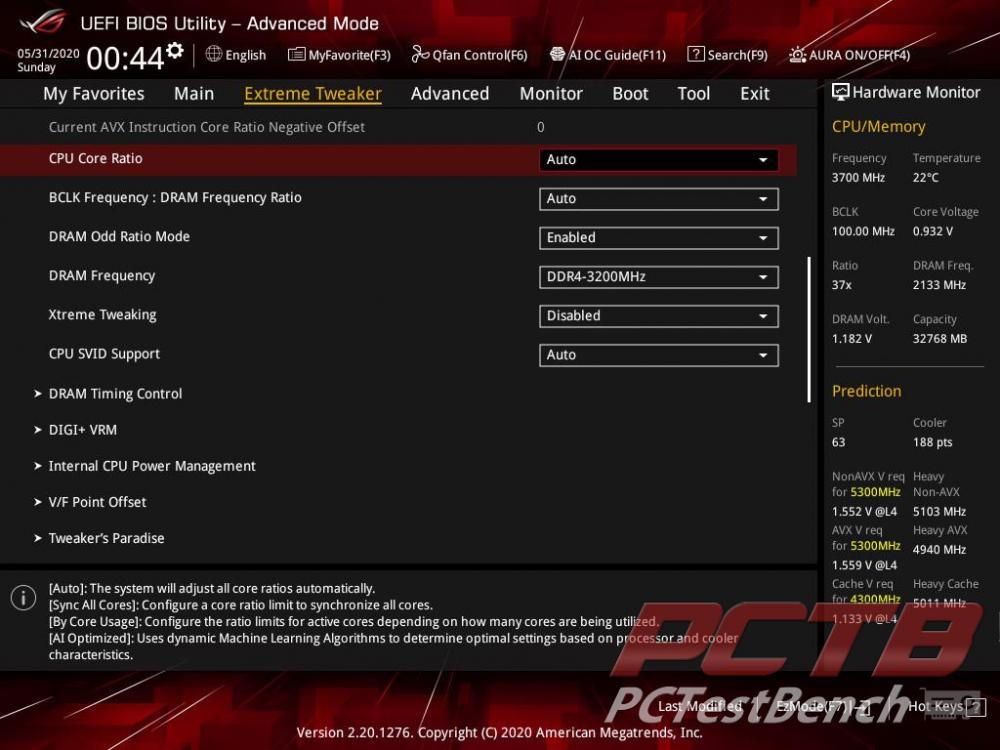
Extreme Tweaker is the section you want to hit if you want to do some overclocking. You’ll want to at least set your ram to its XMP overclocked speeds at least if you didn’t on the EZMode page.
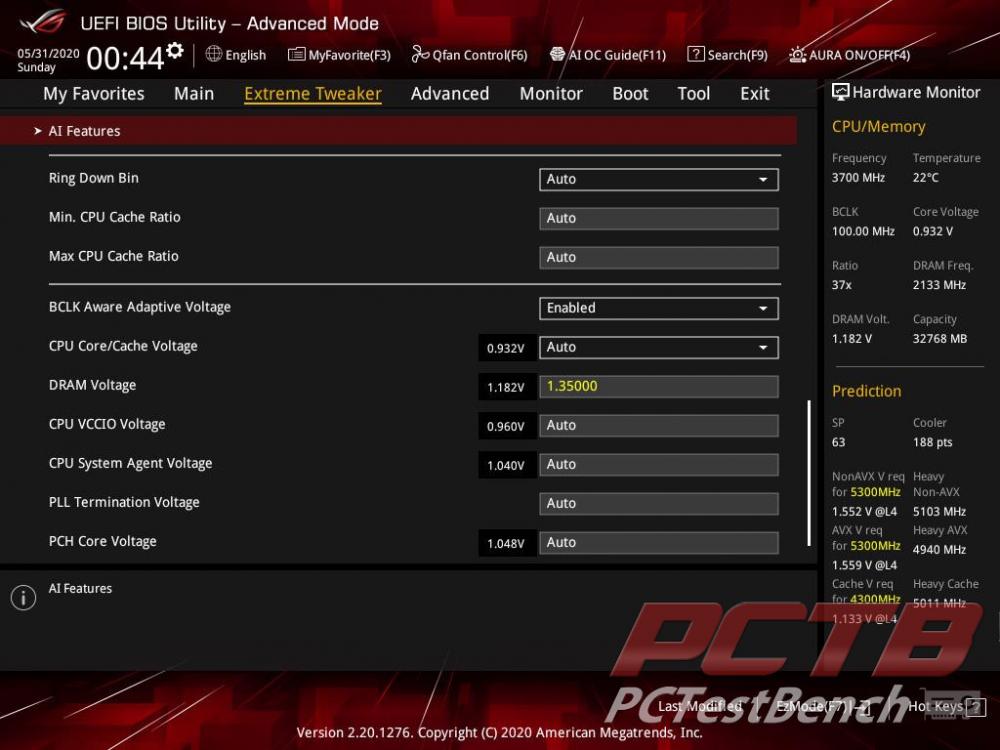
There are tons and tons more settings on further down including several specific sub-menus.
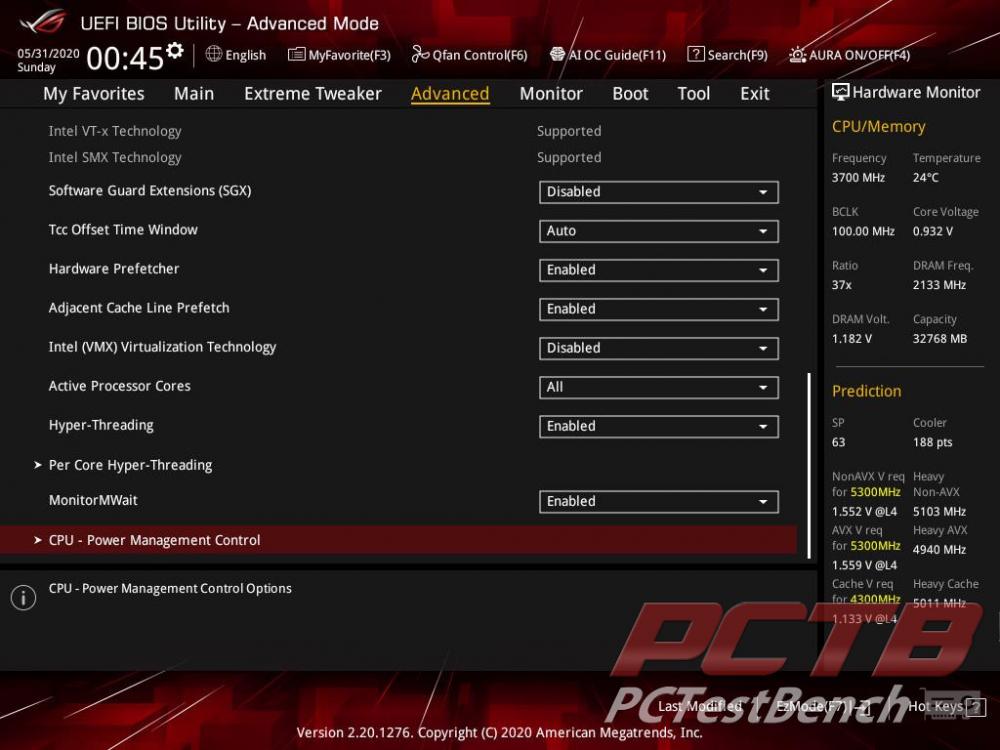
The Advanced tab has another veritable mountain of settings.
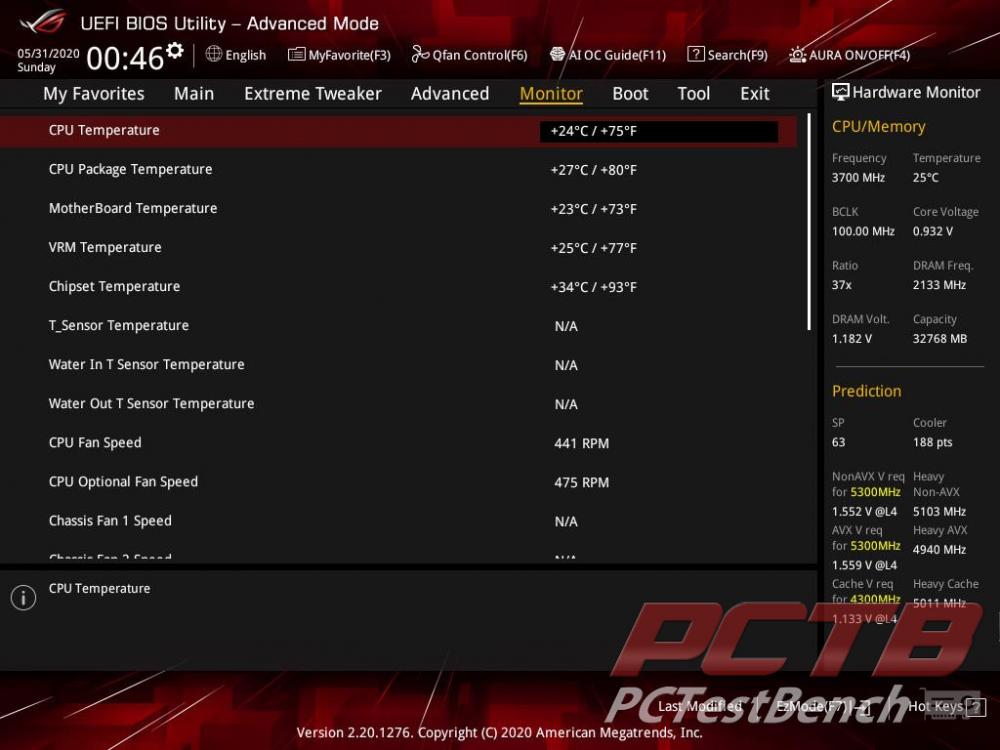
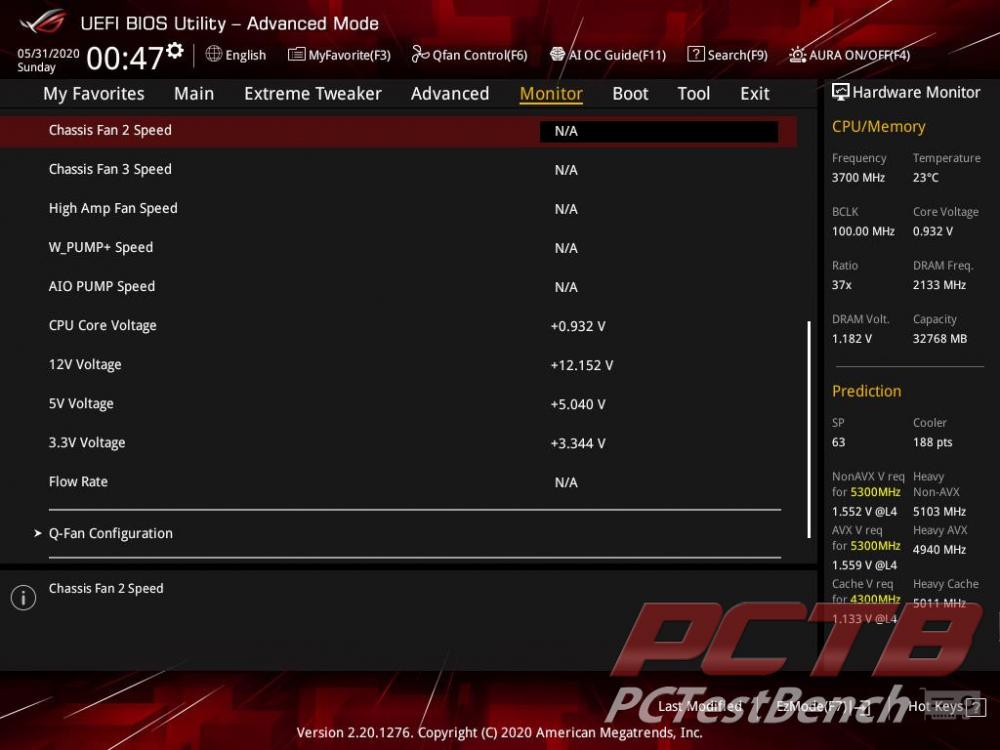
The Monitor tab gives you live readings of all voltage rails, fan and pump speeds, even temperature and flow rates if you have compatible hardware connected. You can also access Q-fan from the bottom of this page as well.
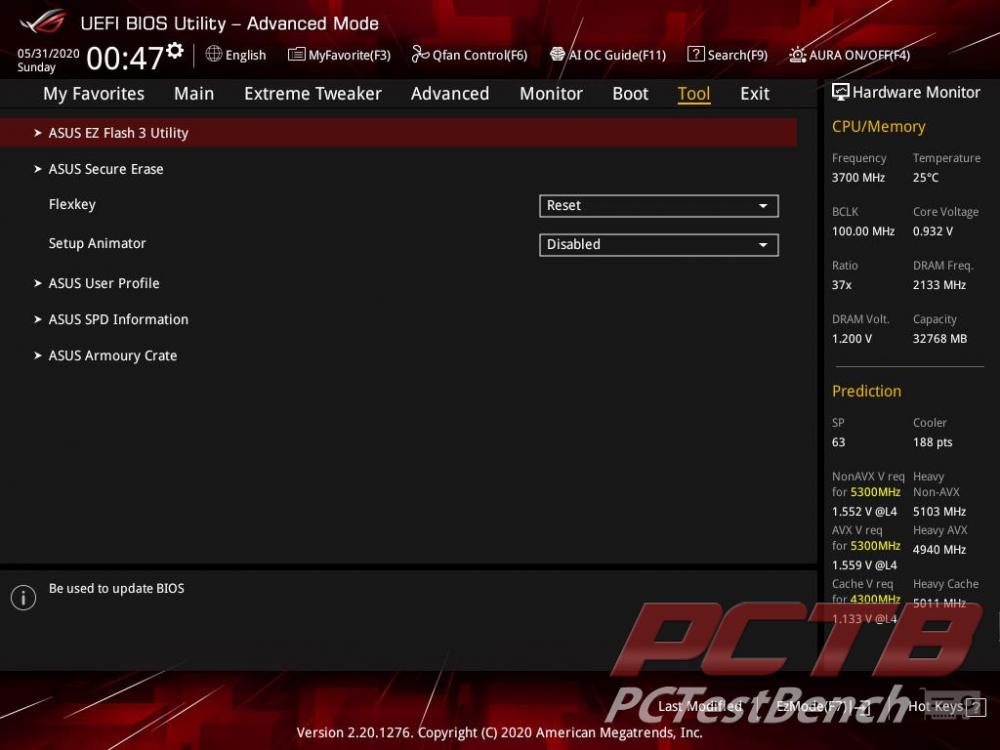
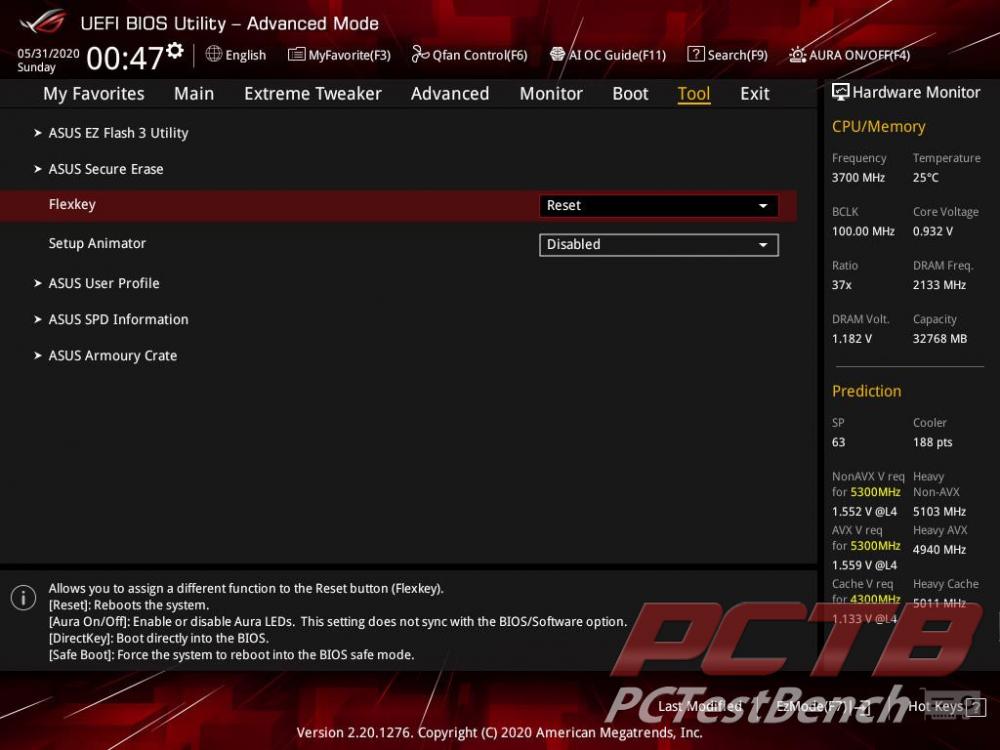
The Tools section is our first stop to access ASUS’s EZ Flash 3 utility to load the very latest BIOS.
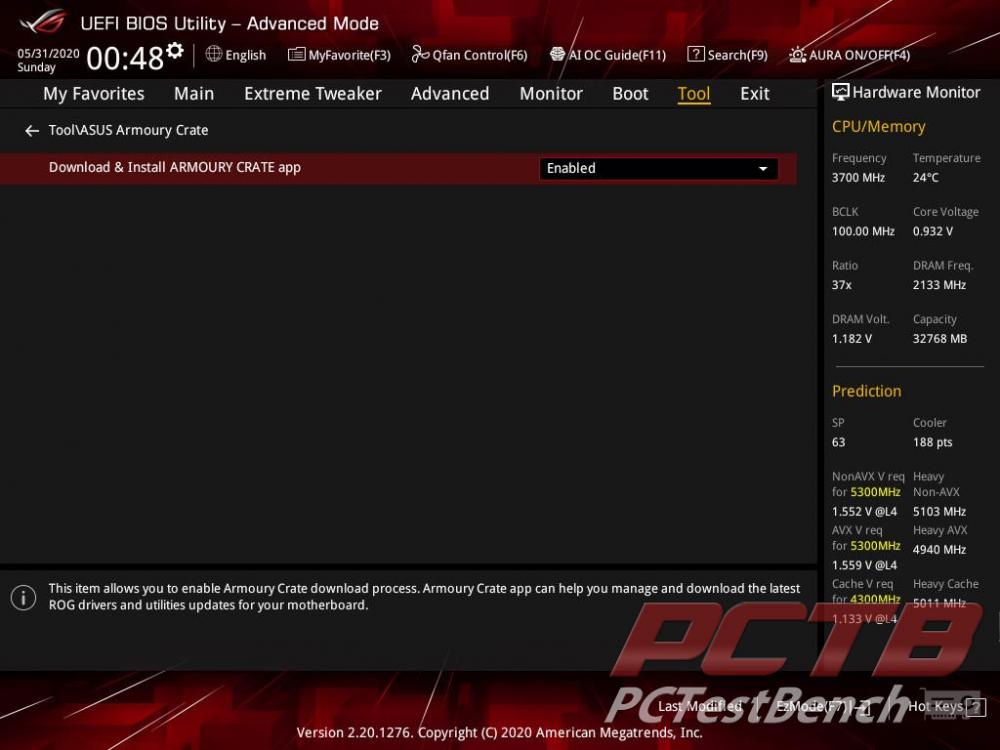
Armoury Crate is an interesting tool that will install LAN drivers as soon as you hit windows and then ask to install a new piece of software to get everything up and running for you. We manually control divers and software, so we disable this for testing. If you like a very lean install with no extra software, you might want to as well or it will pester you every time you boot into windows. Otherwise, it’s pretty handy to get everything you need installed and updated in a few clicks.
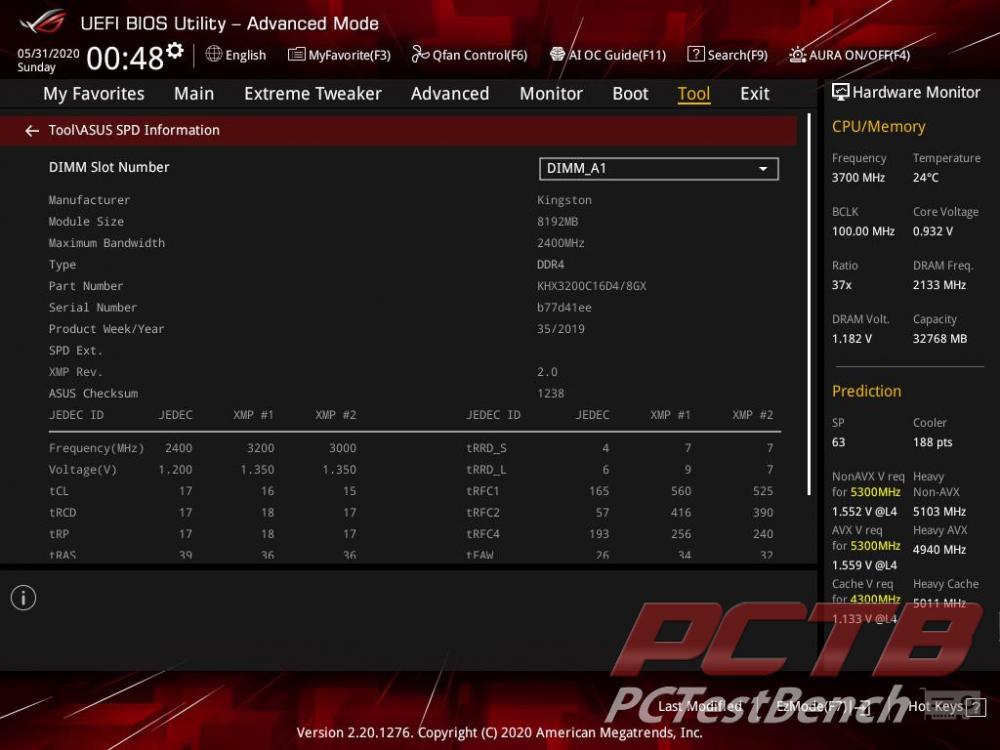
The SPD tool is nice for looking a little deeper at memory and timing settings.
If you would like to program the Flexkey button (the Physical reset button on the top corner of the board), you can pick a few options here. We like the DirectKey as it will bypass quick boot and dump you right into the BIOS without having to do a CMOS reset.
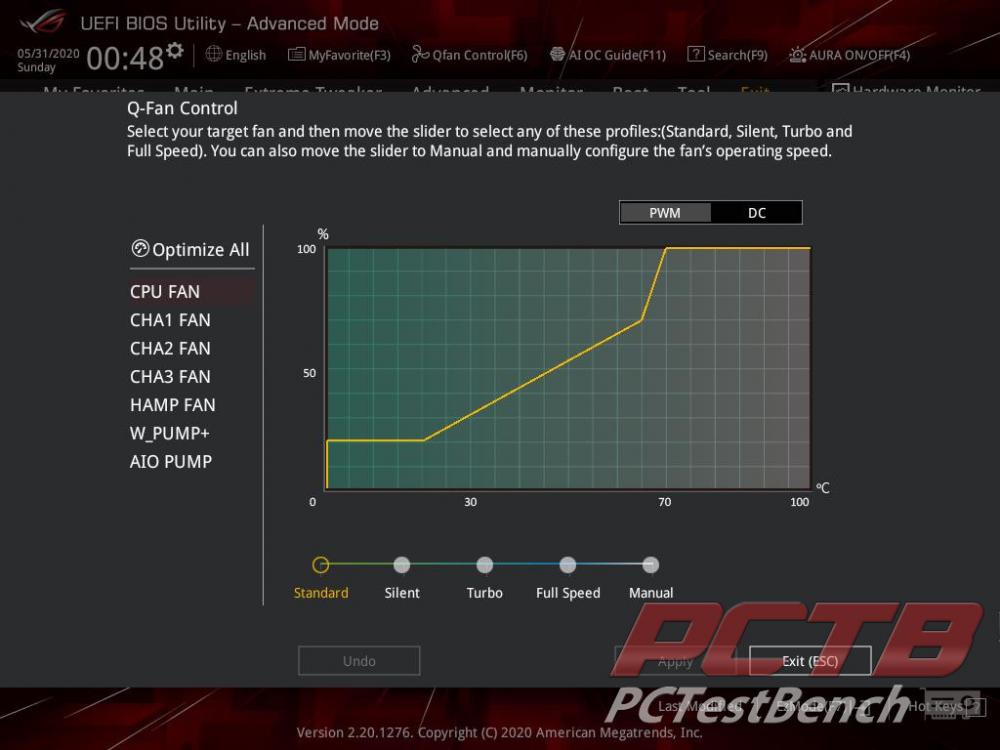
Q-fan can be accessed from the monitor tab, or directly at any time by pressing F6. Unless you have very specific needs, pressing Optimize All and giving it a few moments to tune all of your fans is really all you need to do here.
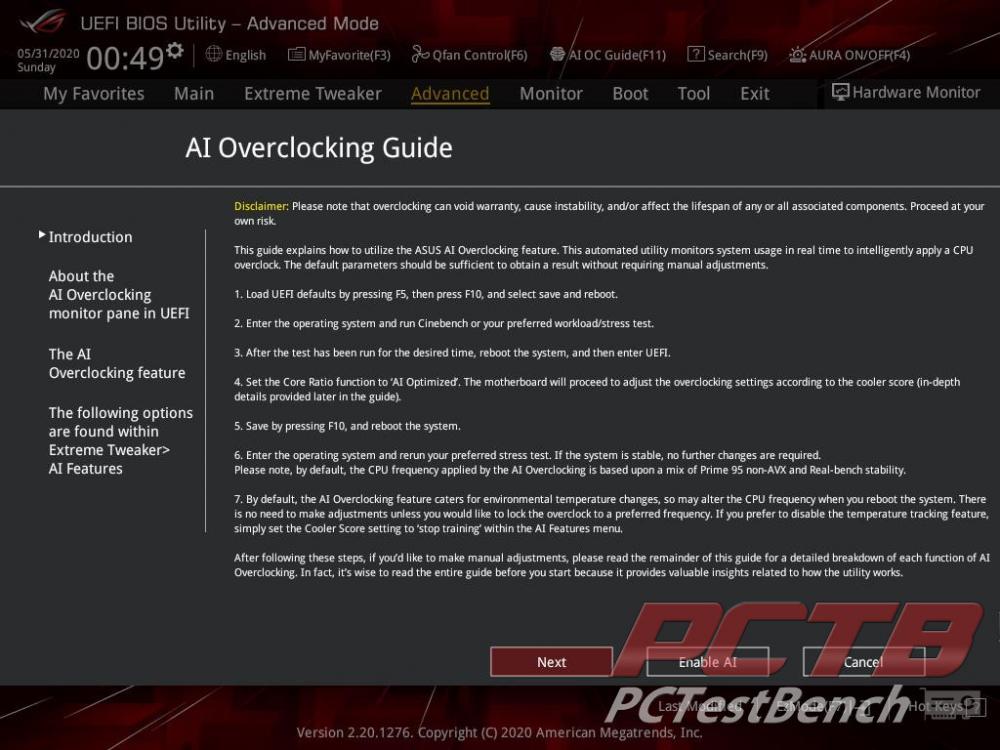
Pressing F11 gives you the Ai Overclocking Guide and how to enable it. We’ll test this out shortly.
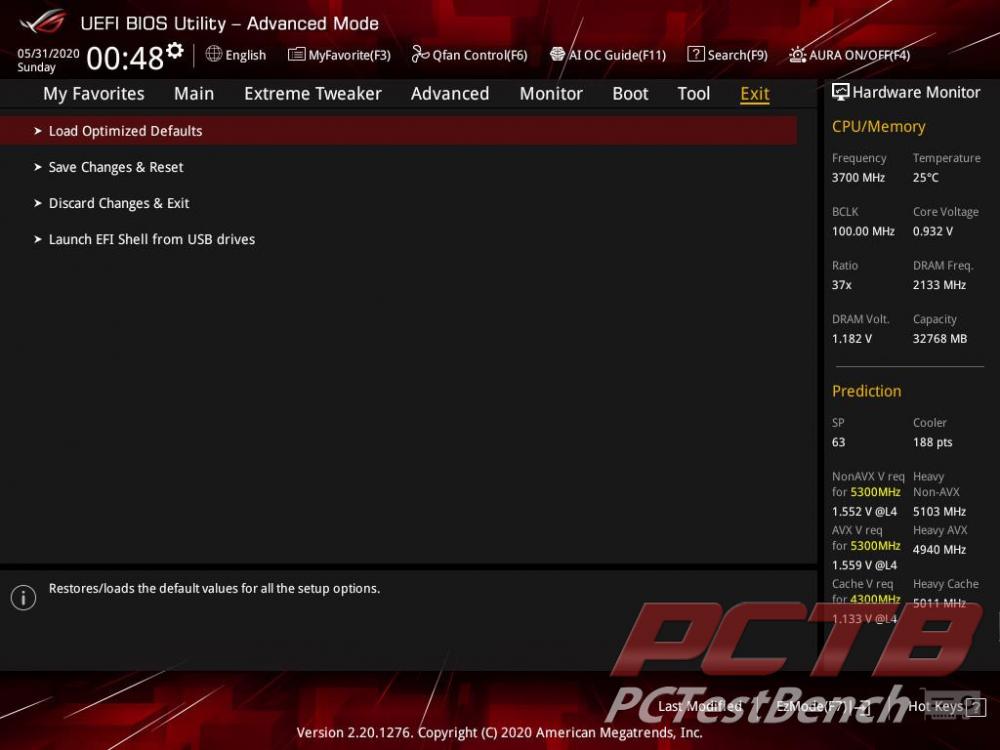
While it may seem trivial, there are a few useful options from the Exit page. Restoring Optimized Defaults is handy, as it forcing loading EFI enabled USB drives, like your windows install media.
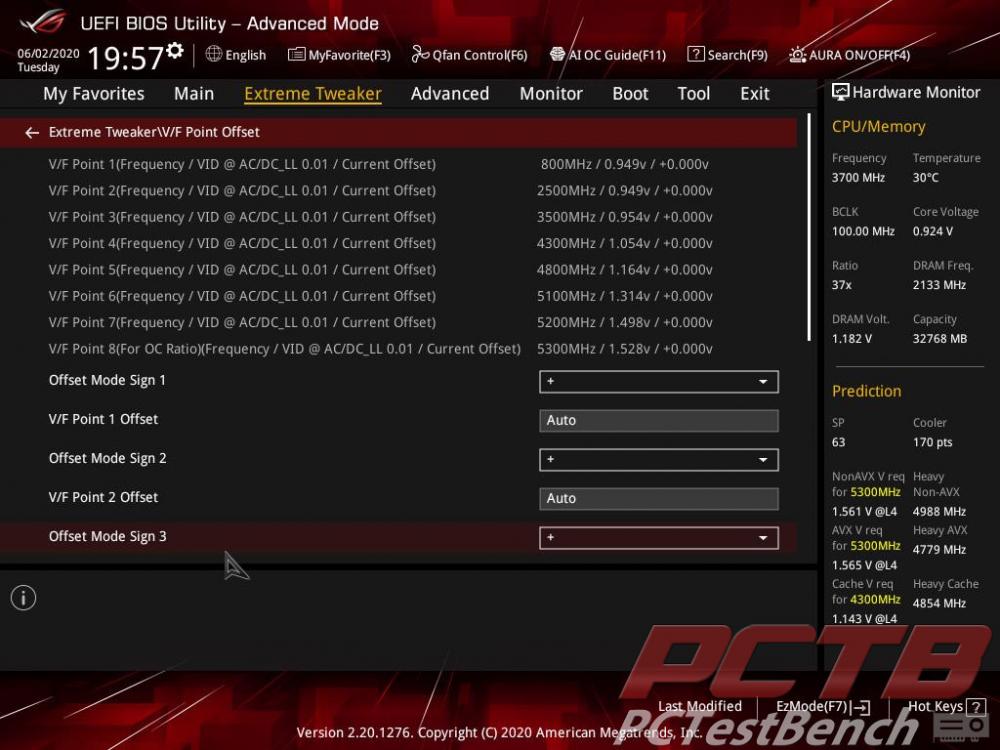
One last thing we want to point out is a new feature within the BIOS in the latest UEFI firmware (0509 in this case). Asus now provides a customizable Volts/Frequency curve that is completely new. There are 8 points in this curve and each point refers to specific CPU frequency, you may adjust the offset voltage at each point to have lower/higher voltage on certain CPU frequency. This has been done on GPU’s for years now, but this is a very welcome feature to see in the CPU world.



Check Out Our Amazon Store with Modders Inc
Please Support PCTestBench as Every Purchase Helps