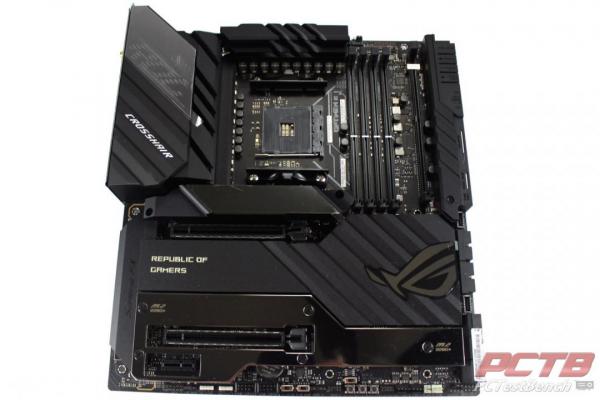
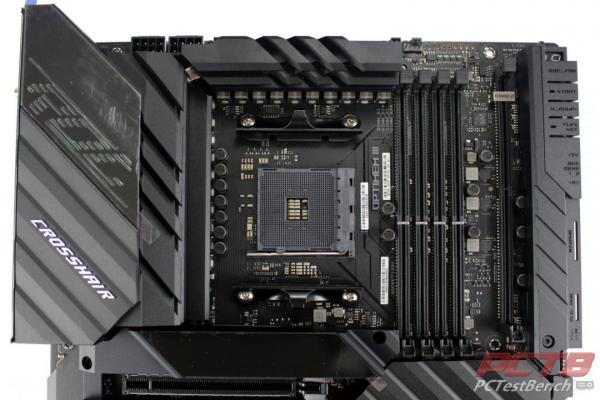
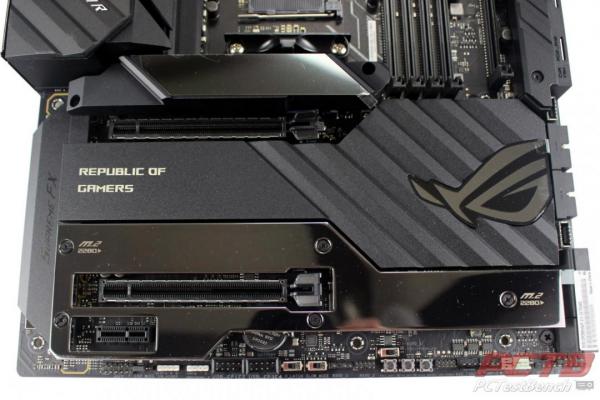
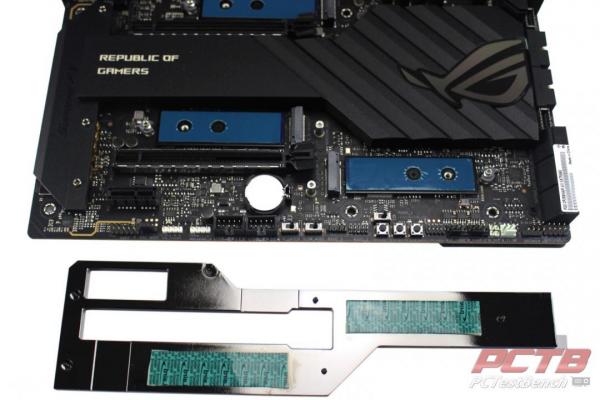
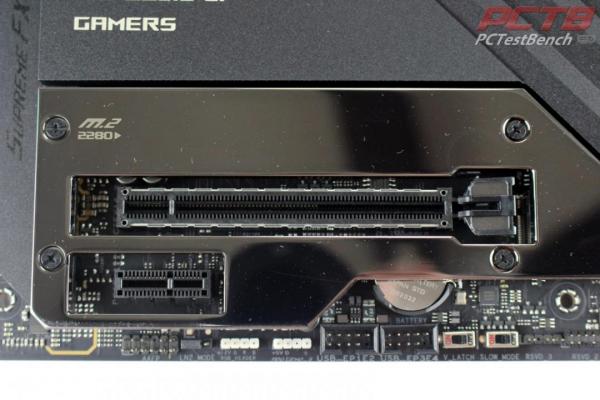
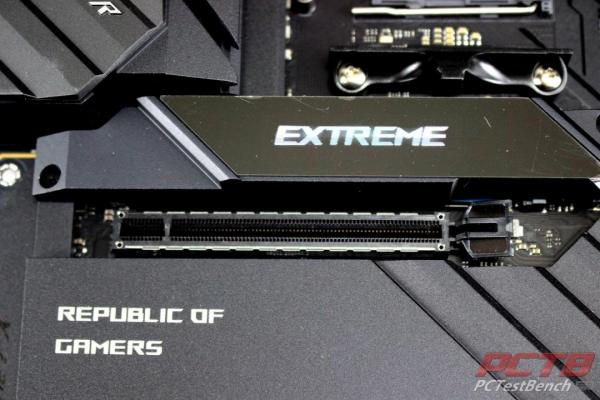
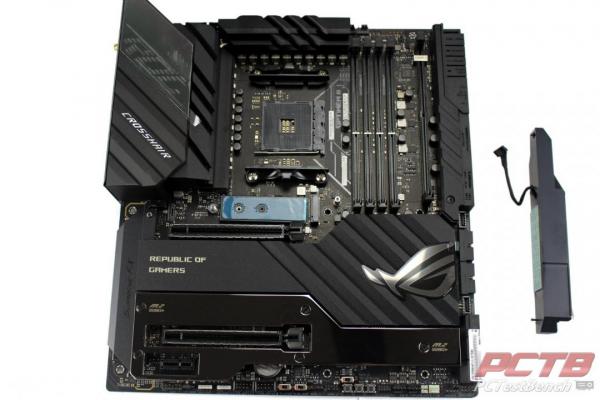
ASUS’s ROG Crosshair VIII Extreme is a monster E-ATX board that is almost entirely covered in Aluminum heatsinks. It uses a dark color scheme with the main heatsinks black with a media blasted texture and the lower M.2 drive cover using a polished black nickel finish to give some contrast.
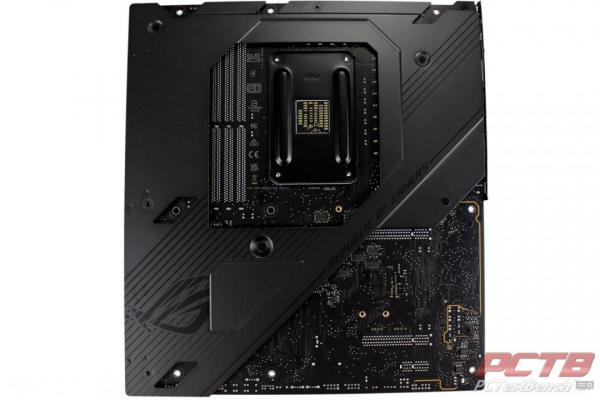
The rear of the board is mostly covered with a large backplate that provides protection, rigidity to the entire board and even helps dissipate heat from the VRM and Chipset.
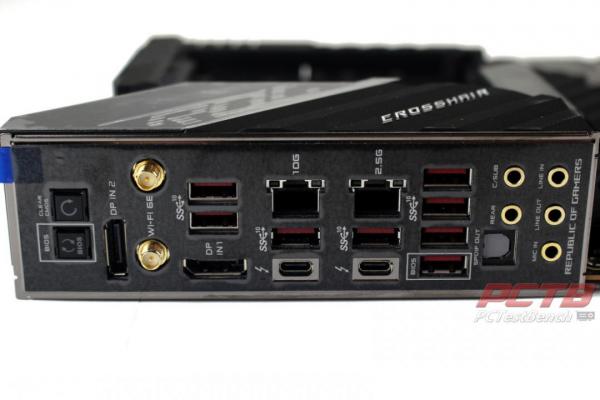
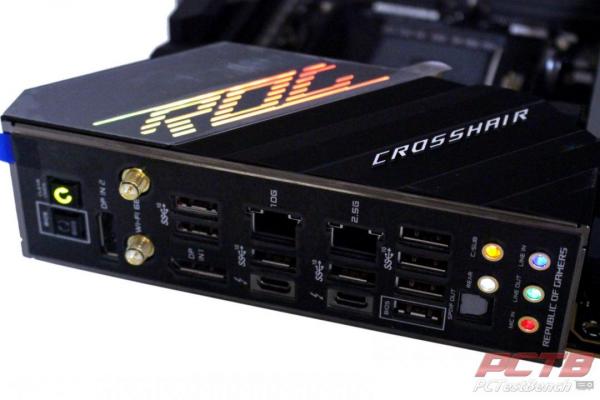
Rear I/O Is extensive on the Crosshair VIII Extreme. You get ROG’s usual Clear CMOS and USB BIOS Flashback buttons, Two antenna connectors for Wi-Fi and Bluetooth, eight USB 3.2 gen2 10Gbps Type A plugs, Two Thunderbolt 4 connections using Type-C, SPDIF optical audio output, and the usual 3.5mm surround sound analog audio outputs.
Also on the rear are two full-size DisplayPort inputs for Thunderbolt passthrough. These are input only and can not be used for video output from a Ryzen APU, but APU video output can be obtained from the Thunderbolt 4 outputs if needed.
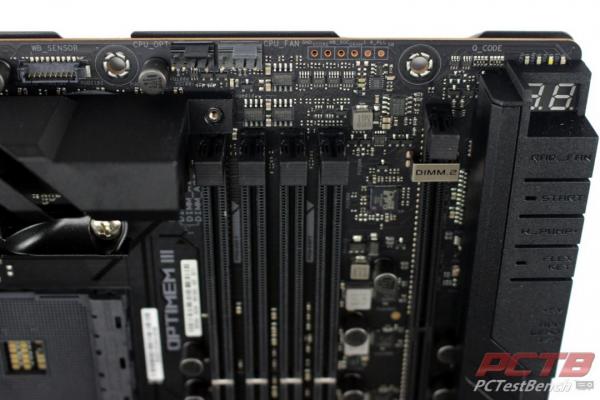
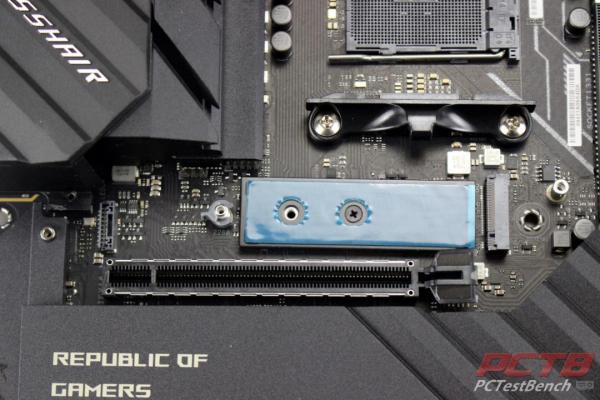
The top half of the board is centered around AMD’s AM4 socket with four DDR4 DIMM slots flanking one side. further out, ROG’s DIMM.2 slot allows connection of two PCIe 4.0 x4 NVMe or SATA M.2 drives in 2242,2260,2280 or 22110 sizes. PCIe 3.0 type drives are also supported on both sides. The top right corner has a 2-digit readout as well as power and user programable Flexkey button that by default is set to act as a system reset button. The main CPU-connected M.2 slot hides under the LiveDash display embedded heatsink just under the socket.
The lower half of the board has two CPU-connected PCIe x16 slots as well as a single Chipset connected PCIe x1.
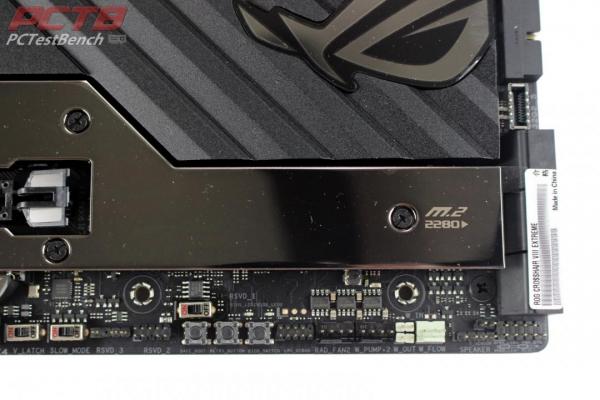
Two more m.2 drives hide under the polished cover, bringing the total up to five.
Almost every inch of the edges of the board has connections. On the lower rear corner, we have a front panel audio header, LN2 Mode Jumper, a 12V RGB header as well as 5V ARGB header, two USB 2.0 headers, and two switches. The rightmost is the Slow_Mode switch, used for locking the CPU at the lowest speed during extreme LN2 benchmarking. The leftmost is the V-Latch Switch that ASUS describes as:
“The V_Latch switch is used for enthusiasts interested in viewing the onboard voltage regulation. When V-Latch is set to enabled, it will record both the True highest and True lowest voltages of the Vcore”
Three pushbuttons are next, Safe_Boot, Retry_Button, and BIOS_Switch. Next is a debug header, Two Fan headers, and connections for water-cooling sensors like thermal probes and a water flow meter. The corner has the usual Front Panel I/O headers.
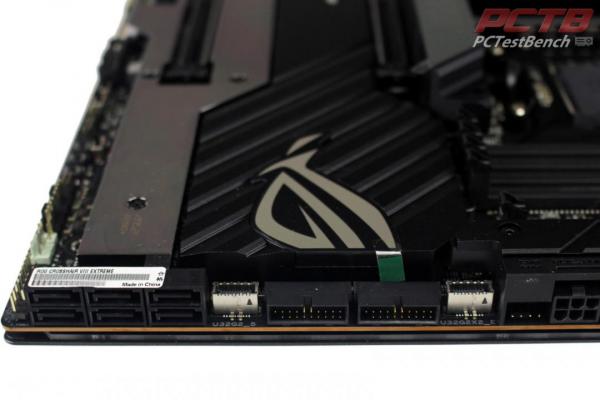
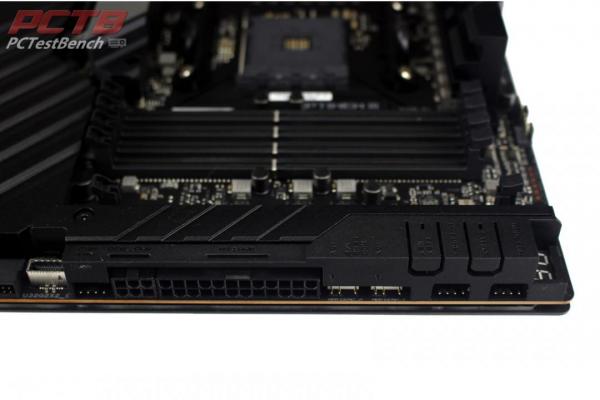
Going up the front edge starts with six SATA-III 6.0 Gbps ports, a USB 3.2 gen 2 Type-C front panel port, and two USB 3.0 headers. Next is a USB 3.2 gen2x2 20Gbps front panel Type-C header that also supports up to 60W of power delivery while the system is powered on, or 10W of PD while the system is off or suspended.
Next is the ASUS HydraNode enabled rad fan header that can support up to 4 fans. Next is the 6-pin PCIe power connector that is used to supply the power for the Type-C Power Delivery enabled front panel connection as well as provide supplemental power to the PCIe slots, followed by the main 24-pin power connection. Followed by two ARGB headers and two more fan headers.
The top front corner is busy with power and FlexKey buttons, ROG Q-code readout, and Q-LEDs for quick diagnostics. The LEDs quickly detect what subsystem is having issues. CPU issues light up red, memory: yellow, and VGA: White. Green indicates Boot Device. Next are Probelt voltage probe points for overclocking, as well as main and optional CPU fan headers. Asus also includes a water block header that can integrate with 3rd part aftermarket cooling systems to detect temps, flow, and coolant leaks.
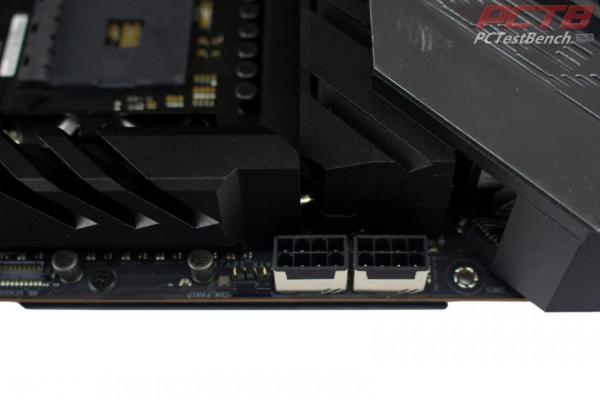
Near the rear on top are the twin 8-pin EPS power connectors and the other HydraNode enabled fan header.
Just above your top PCIe slot is ASUS’s 2” LiveDash OLED display. This can display system parameters such as CPU frequency or temperature, or static or animated gifs of your choice.
Under it is your primary storage slot that connects to the dedicated lanes of most Ryzen processors.
When powered on, the ROG logo on the rear I/O cover lights up. This is user-configurable with software. Each audio port light’s up its respective color to enable you to easily connect your audio devices even in total darkness.
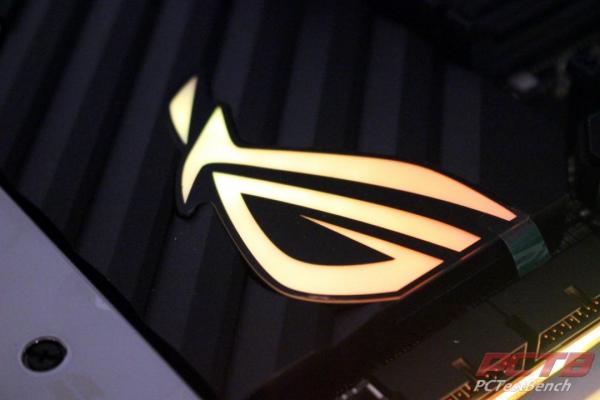
The ROG Eye logo also lights up as well as the front edge of the board. Both can be configured to your liking from within ASUS’s software suite.
Check Out Our Amazon Store with Modders Inc
Please Support PCTestBench as Every Purchase Helps