ASRock H470 Steel Legend Motherboard Review
Get Endless Performance Possibilities with Steel Style
BIOS
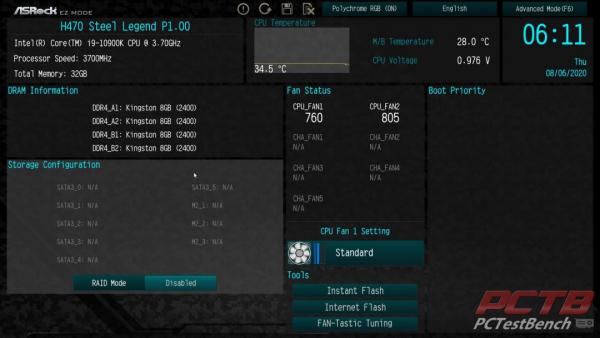
ASRock starts you out in the ‘EZ Mode’ of the BIOS. You get a quick rundown of everything in the PC, as well as some basic options like turning on RAID or XMP.
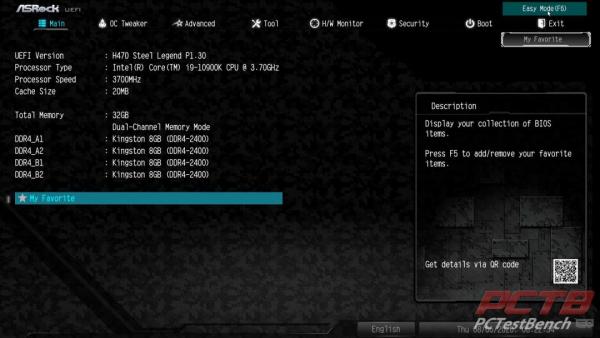
Hitting F6 brings you to an advanced mode where all of the settings live. The Main tab is more of a landing page showing basic system specs.
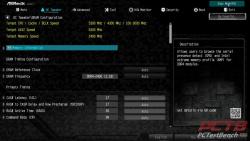
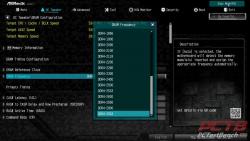
The OC Tweaker page is here, but options are somewhat limited given the mostly locked H470 chipset. This is an Intel limitation, not an ASRock limitation.
For the most part, all you can really tweak is memory. Speeds are limited to a maximum of 2933MHz, but you can tweak timings and gain some decent performance.
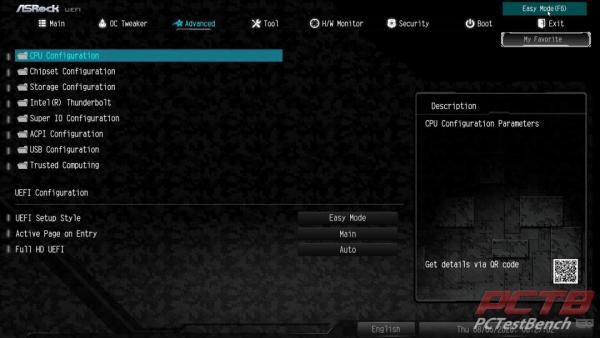
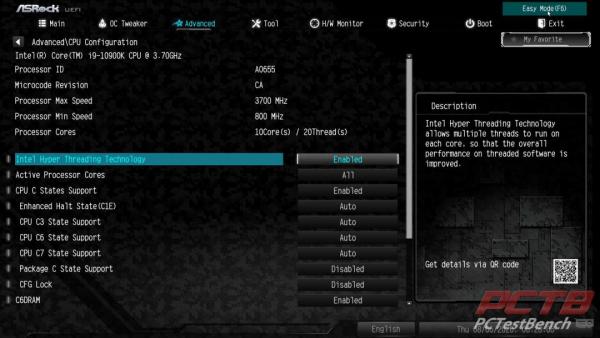
The Advanced page lets you dive a little deeper into certain areas like I/O or USB configuration.
Each of the advanced pages offers some important but less often needed settings.
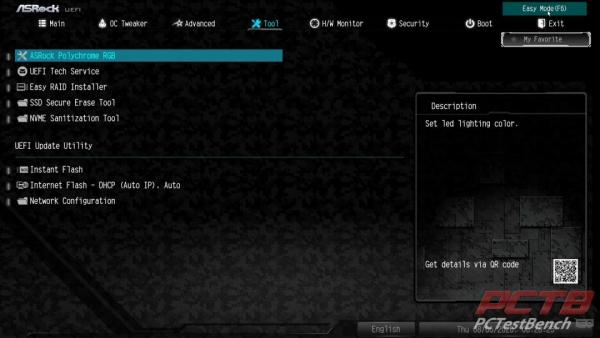
The tools page is an important one and was our first stop to update our system to the latest available BIOS.
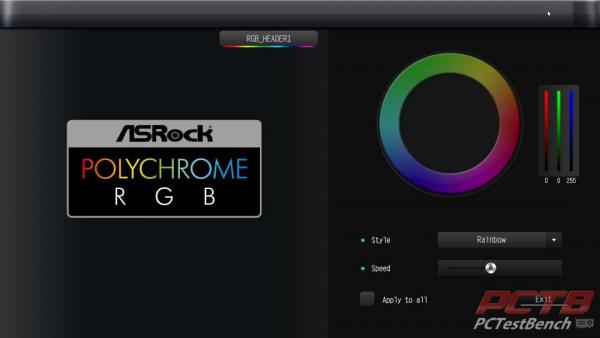
We like that ASRock gives you full control of lighting right form the BIOS, no OS or software is needed.
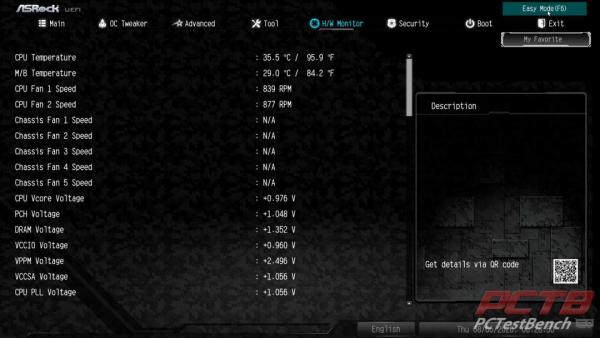
The hardware monitor is pretty self-explanatory. You can keep tabs on all system voltages, temperatures, fan speeds, and everything else related here.
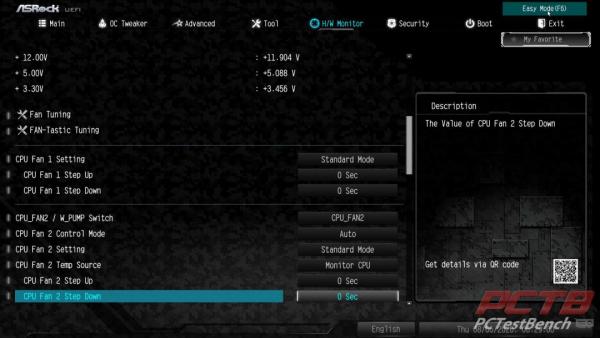
You can also tune all of your connected fans from here.
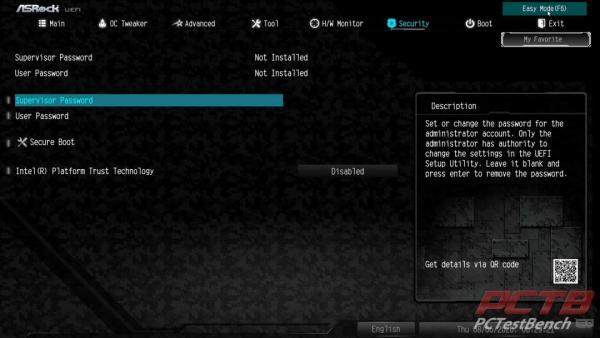
Most enthusiasts probably won’t use anything in the security tab, but a BIOS password can be set here as well as turning on the Trusted Platform module if installed, handy if you deploy this board in an office or similar environment.
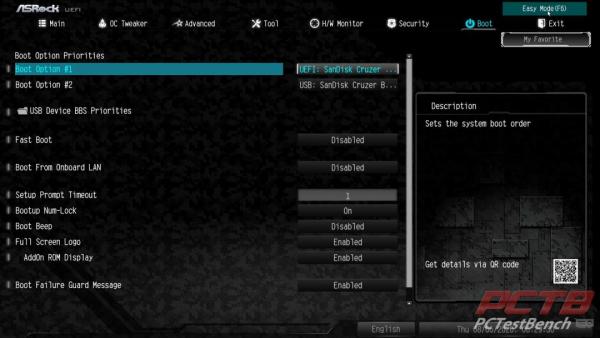
Here in the Boot tab, you can configure things like boot order, and even turn off the full-screen boot logo if you prefer to see a quick summary instead.
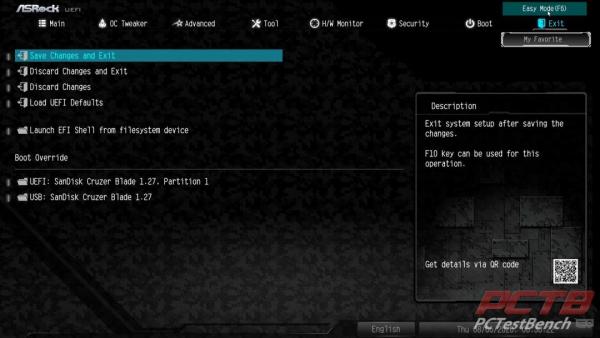
And last but not least the Exit Tab, you can save or discard changes made this session, as well as restore defaults. You can also override boot settings to boot to a different device just this one time.
